- Set a static IP before installing — Pi-hole will not work properly on DHCP
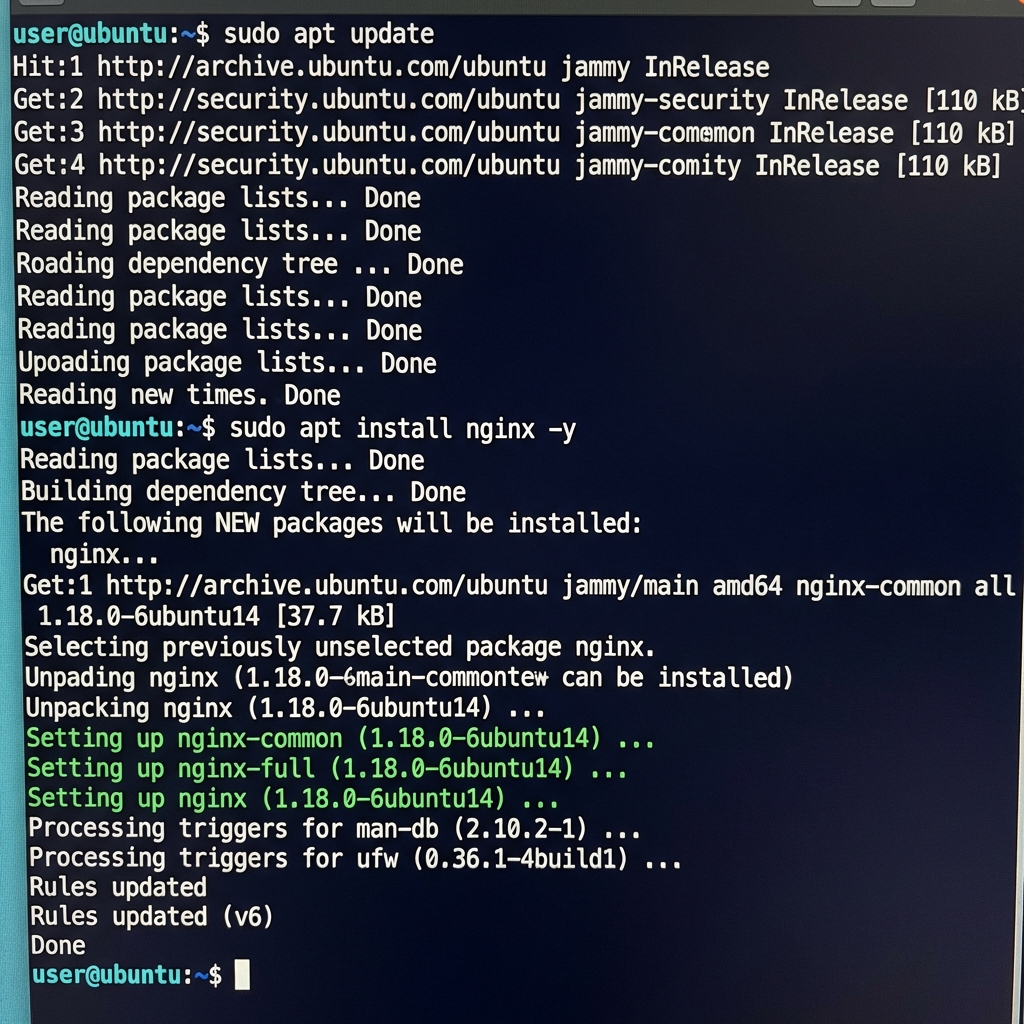
- If you're on Ubuntu, disable systemd-resolved first or port 53 will conflict
- The Docker method is cleaner if you already run containers
Pi-hole blocks DNS-level ads. That means it kills tracking domains and pre-roll ad servers before they reach any device on your network. It does NOT block YouTube ads (those come from the same domain as the video), most in-app ads on mobile, or anything served from a first-party domain. If a website hosts its own ads from its own servers, Pi-hole can't tell those apart from the content you actually want. Set your expectations accordingly.
Samsung and LG TVs hardcode their DNS servers to 8.8.8.8 (Google). That means they bypass Pi-hole entirely — your TV just ignores whatever DNS server your router hands out via DHCP. The fix is setting up a NAT redirect rule on your router that intercepts all outbound DNS traffic on port 53 and forces it through Pi-hole instead. On most routers running OpenWrt or pfSense this takes about five minutes. On ISP-provided routers, you're probably out of luck. This is the single most common complaint from new Pi-hole users and the official docs barely mention it.
- A Raspberry Pi (any model, even a Zero W works) OR a spare computer OR a VM/Docker container
- A static IP on your local network
- Access to your router's DHCP settings
Pi-hole doesn't need much power. A Pi Zero handles an entire household. I've seen it run for thousands of clients on modest hardware.
Installation Options
Pi-hole can be installed three ways:
- Bare metal - Directly on a Raspberry Pi or Linux server
- Docker - Ideal if you're already running Docker
- VM - If you want it'solated
I'll cover the first two since they're most common.
Option 1: Standard Installation (Bare Metal)
Set a Static IP First
Your DNS server needs a predictable address. On Raspberry Pi OS or Ubuntu Server:
sudo nano /etc/dhcpcd.confAdd at the bottom (adjust for your network):
interface eth0
static ip_address=192.168.1.100/24
static routers=192.168.1.1
static domain_name_servers=1.1.1.1 8.8.8.8
Reboot to apply:
sudo reboot💡 Not working? If the installer fails, check that port 53 isn't already in use. Run sudo lsof -i :53 — on Ubuntu, systemd-resolved often squats on that port. Disable it with sudo systemctl disable systemd-resolved.
Run the Installer
curl -sSL https://install.pi-hole.net | bashYes, this is piping to bash. The script is well-audited, but if you're paranoid, download it first and review it.
The installer is interactive. It'll ask about:
- Network interface - Pick your wired or wireless interface
- Upstream DNS - Where Pi-hole forwards non-blocked queries. I use Cloudflare (1.1.1.1) or Quad9 (9.9.9.9)
- Blocklists - Start with the defaults, you can add more later
- Admin interface - Yes, install it. The query log alone is worth it
- Logging - I enable it, very useful for troubleshooting
At the end, you'll get a random admin password. Write it down. You can change it later
with pihole -a -p.
Option 2: Docker Installation

If you're running Docker, this is cleaner:
docker run -d \
 --name pihole \
 -p 53:53/tcp -p 53:53/udp \
 -p 80:80 \
 -e TZ="America/New_York" \
 -e WEBPASSWORD="your_password_here" \
 -v pihole_data:/etc/pihole \
 -v dnsmasq_data:/etc/dnsmasq.d \
 --restart=unless-stopped \
 pihole/pihole:latest
Replace the timezone and password. The volumes persist your configuration across container updates.
Or using Docker Compose (my preferred method):
# docker-compose.yml
version: "3"

services:
 pihole:
 container_name: pihole
 image: pihole/pihole:latest
 ports:
 - "53:53/tcp"
 - "53:53/udp"
 - "80:80"
 environment:
 TZ: 'America/New_York'
 WEBPASSWORD: 'your_password_here'
 volumes:
 - './etc-pihole:/etc/pihole'
 - './etc-dnsmasq.d:/etc/dnsmasq.d'
 restart: unless-stopped
docker compose up -dConfiguring Your Network
Pi-hole is running, but nothing is using it yet. You've two options:
Option A: Configure Your Router (Best)
Log into your router and find DHCP settings. Change the DNS server from automatic to your Pi-hole's IP (e.g., 192.168.1.100).
Every device that gets DHCP from your router will now use Pi-hole. Phones, laptops, smart devices - all automatically protected.
This requires router support. Most do, but some ISP-provided routers lock down these settings. If yours does, use Option B.
Option B: Per-Device Configuration
On each device, manually set DNS to your Pi-hole's IP. More work, but works with any router.
Option C: Pi-hole as DHCP Server
Pi-hole can be your DHCP server instead of your router. This gives you the best integration but requires disabling DHCP on your router. Found in Admin Panel → Settings → DHCP.
The Admin Dashboard
Navigate to http://pi.hole/admin or http://192.168.1.100/admin in your browser.
The dashboard shows:
- Queries today - Total DNS requests
- Queries blocked - How much garbage you'ren't loading
- Percent blocked - Usually 10-30% for typical households
- Query log - What's being requested and what's blocked
The query log is where Pi-hole gets interesting. You'll see exactly which domains every device on your network is trying to reach, and how many of those are trackers. My smart TV tried to contact 80+ different tracking domains in its first hour of being powered on.
Adding More Blocklists
The default lists are good, but you can add more:
Admin Panel → Group Management → Adlists
Some popular ones:
https://raw.githubusercontent.com/StevenBlack/hosts/master/hosts- Solid unified hostshttps://raw.githubusercontent.com/crazy-max/WindowsSpyBlocker/master/data/hosts/spy.txt- Windows telemetry
After adding, update gravity:
pihole -gWarning: More aggressive blocklists break more things. Start with defaults and add gradually.
When Things Break
Something you use will break. Not if, when. Maintaining blocklists is a chore, and you will end up whitelisting domains at inconvenient times because Spotify stopped loading or Microsoft Teams can't connect to its servers.
Steps to troubleshoot:
- Check Query Log - Look for blocked domains around the time things broke
- Whitelist if needed - Group Management → Domains → Add domain as whitelist
- Disable temporarily - Dashboard has a big "Disable" button. Use it while troubleshooting
Common false positives:
- Spotify's CDN and metrics domains (blocking these causes playback failures and constant nagging)
- Microsoft Teams authentication endpoints (meetings just silently fail to connect)
- Some smart home devices that depend on their cloud service to function at all
- Various Microsoft telemetry (Windows complains loudly but still works)
I keep a text file of domains I've had to whitelist. It's about 30 entries long after a year. Every aggressive blocklist you add increases the maintenance burden, so add them one at a time and give each a week before adding the next.
Local DNS (Bonus Feature)
Pi-hole can resolve local hostnames too. Instead of remembering that your NAS is at 192.168.1.150, you
can access it as nas.home.
Admin Panel → Local DNS → DNS Records
Add entries like:
- nas.home → 192.168.1.150
- printer.home → 192.168.1.55
- Proxmox.home → 192.168.1.10
Useful if you run other services on the same network.
Keeping It Updated
# Update Pi-hole itself
pihole -up

# Update gravity (blocklists)
pihole -g
I run these weekly. Some people set up cron jobs.
Performance and Reliability
Pi-hole is stable. Mine has been running for over a year with maybe three reboots total. A few things to plan for:
- Have backup DNS - If Pi-hole goes down, internet breaks for everyone. I configure my router with Pi-hole as primary and 1.1.1.1 as secondary
- Monitor uptime - Set up a simple ping check or use the teleporter backup feature
- Size your hardware right - A Pi Zero handles homes. Larger networks might want a Pi 4 or dedicated VM
What the Numbers Look Like
After running Pi-hole for a year on a network with about 25 devices:
- Average day: 47,000 total queries, 22% blocked
- Samsung TV: 8,000+ queries per day, almost half of which are tracking or telemetry
- iPhones and iPads phone home to Apple constantly — even when not in active use
- A single Windows PC generates around 400 queries to Microsoft domains daily
None of these blocked requests affect the functionality of the devices. The TVs still stream. The phones still get notifications. The PCs still update. All that traffic was just telemetry and ad prefetching.
What You Actually Get
Pi-hole won't make your internet faster — it adds a DNS hop, technically making lookups marginally slower. What it does is block tracking and ad domains at the network level, which means protection for every device including the ones you can't install an ad blocker on: smart TVs, IoT sensors, game consoles, guest phones.
- Network-wide ad and tracker blocking without per-device configuration
- Full visibility into what every device on your network is actually doing
- Protection for devices that don't support browser extensions
- Local DNS records for your homelab services
47,000 blocked queries and my internet works fine. Makes you wonder what all those requests were actually doing.
💬 Comments